About Tinted Window Installation Services for Property Owners
This page explains tinted window installation services and helps property owners compare local contractors who provide this work.
- - Residential property owners seeking enhanced privacy and glare reduction through professional tinted window installation services.
- - Commercial building managers aiming to improve energy efficiency and occupant comfort with expert window tinting solutions.
- - Auto dealerships and vehicle owners looking for local pros to provide high-quality window tinting for cars, trucks, and fleet vehicles.
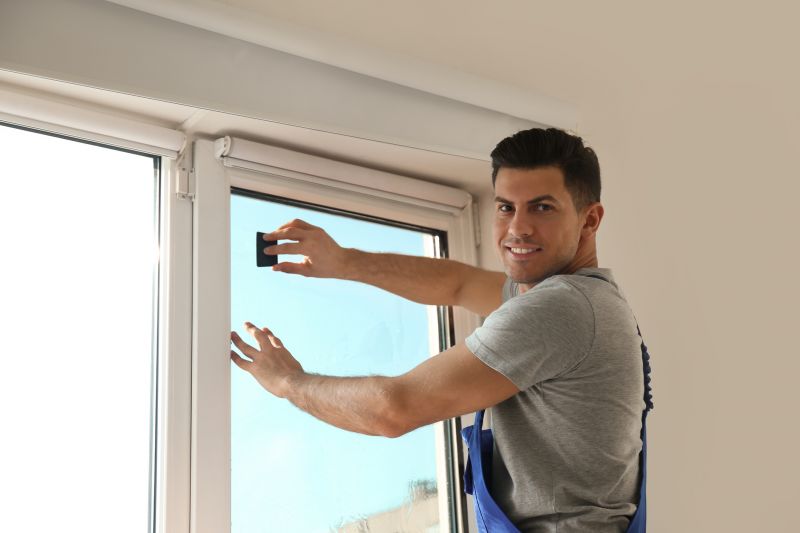
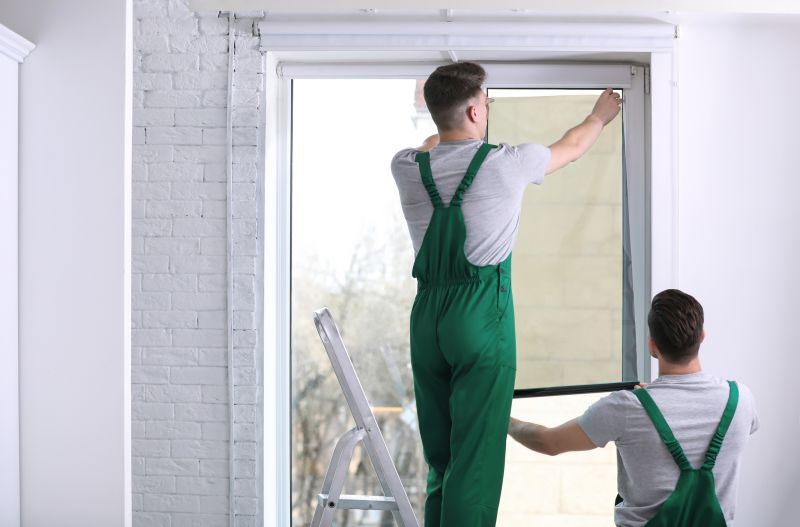
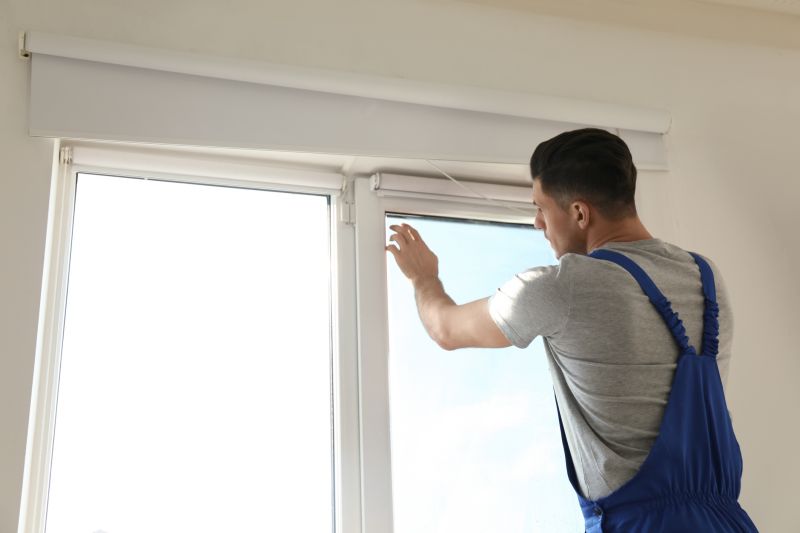
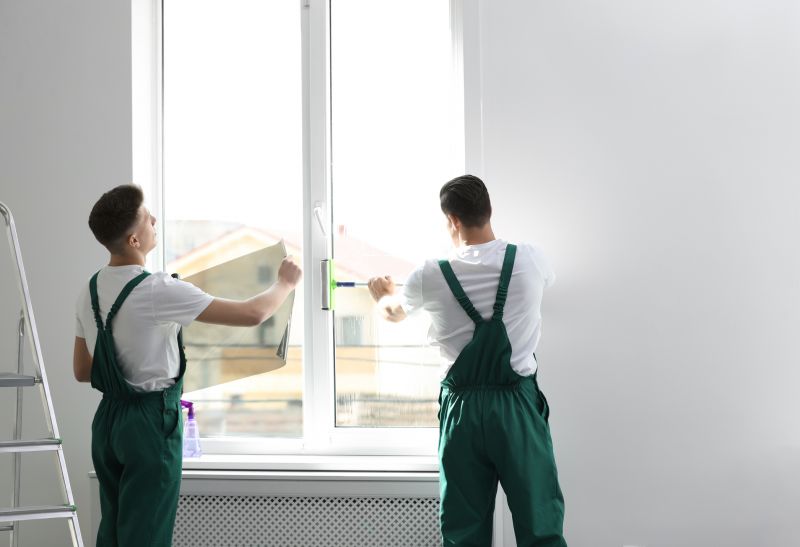
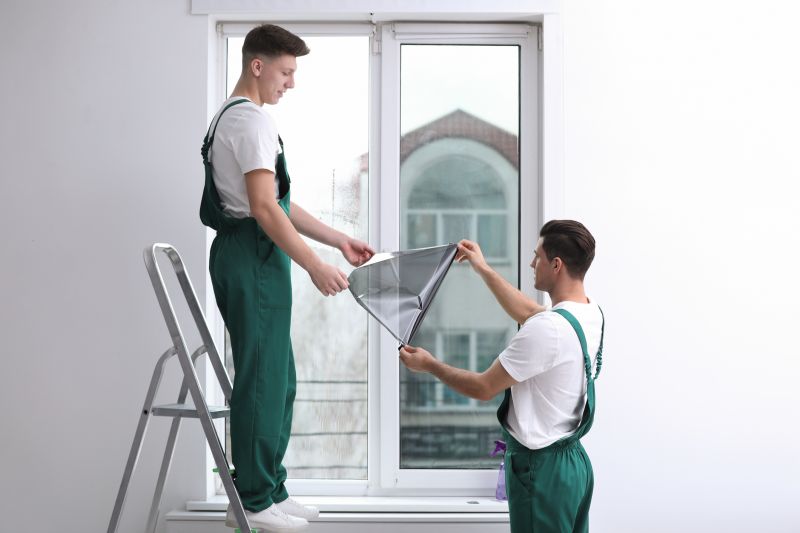
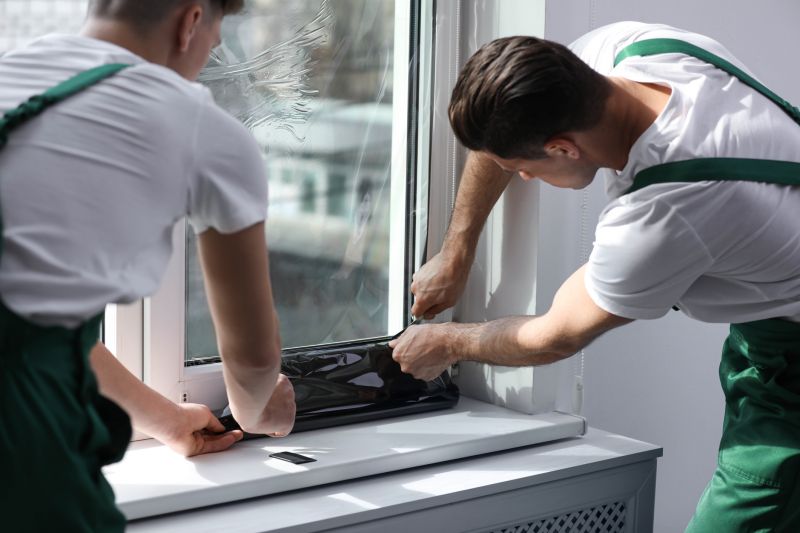
Tinted window installation services are commonly sought by property owners looking to enhance privacy, reduce glare, or improve the appearance of their vehicles and buildings. Local contractors specializing in this work typically handle tasks such as measuring windows, selecting appropriate tinting films, and applying the tint smoothly to achieve a professional finish. People often turn to local pros when they want reliable, experienced technicians to ensure the job is done correctly and efficiently, whether for residential, commercial, or automotive applications.
Connecting with experienced service providers can help property owners find the right solutions for their specific needs. These local contractors are familiar with different types of tinting materials and installation techniques, allowing them to deliver results that meet expectations. By comparing options from nearby professionals, property owners can choose the service provider that best matches their project requirements, ensuring a quality outcome for their tinted window installations.
This guide provides helpful information to understand the key aspects of tinted window installation services. It assists in comparing local contractors and understanding what to consider for your project. By using this resource, you can better prepare to connect with experienced service providers in your area.